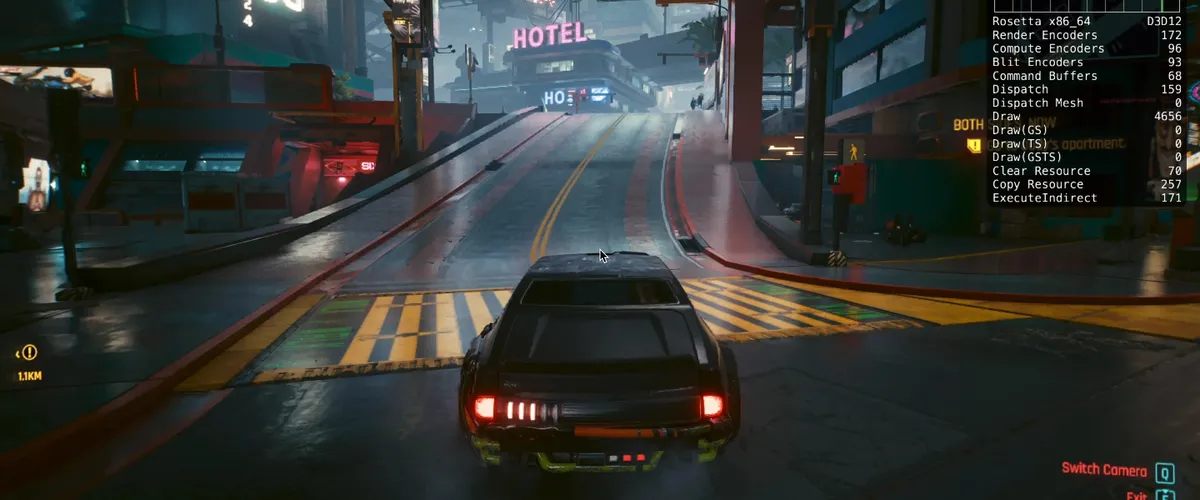
A 2026 Apple silicon Mac runs Cyberpunk 2077, Resident Evil 4 and Assassin's Creed Shadows natively, so "Macs can't game" is a 2019 opinion. What most Mac gaming guides get wrong is the order: they bury the fix that buys 20 frames under the one that buys two. Every fix below is ranked by frame rates gained per minute of effort, none of them costs money, and the first one tells you which of the others you actually need.
Why Your Mac Drops Frames in the First Place
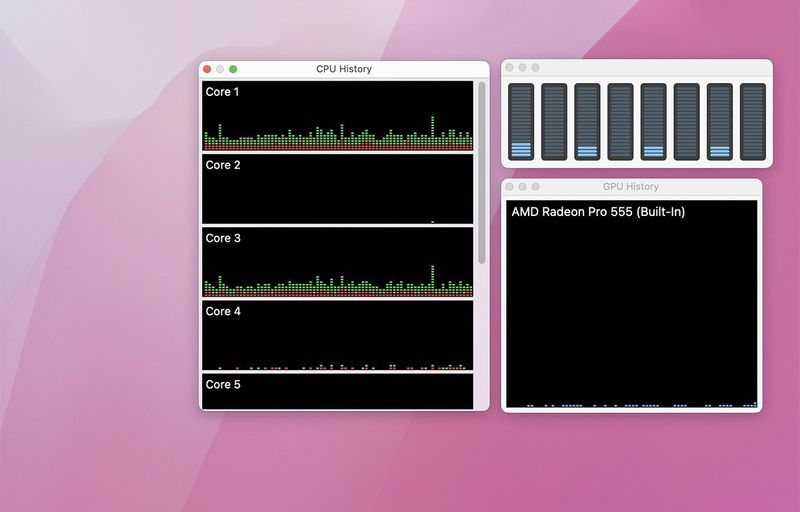
Apple silicon shares one pool of unified memory between the CPU and GPU. There is no separate graphics card with its own VRAM, so when a game's textures and your 40 Safari tabs fight over the same 16 GB, the GPU loses. GPU core count is the real ceiling: the M4 has up to 10 GPU cores (8 in the cheapest configurations), an M5 Max has up to 40, and no setting closes that gap.
Then there is heat. Every M-series chip runs at peak clocks until the chassis can no longer shed the heat, then it steps down, which is why a game feels fine at five minutes and stutters at twenty. Finally, anything running through Rosetta 2 or a Windows translation layer pays a tax that a native Apple silicon build does not.
Find the Bottleneck Before You Change Anything
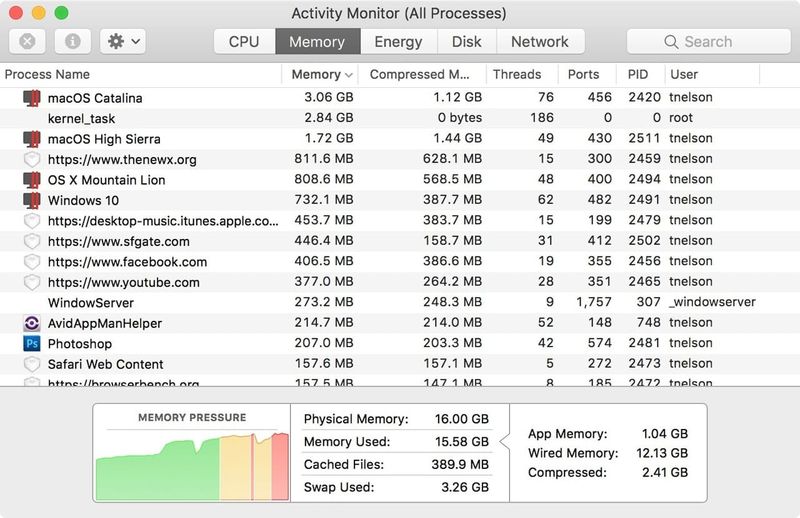
Spend ten minutes measuring first, or you will never know which tip paid off.
- Open Activity Monitor, press Command-4 for the GPU History window, and click the Memory tab so the Memory Pressure graph is visible.
- Launch the game in full screen and run its built-in benchmark, or stand in a fixed scene such as a busy hub area.
- Note the frame rate at minute one and again at minute ten.
Low from the start with GPU History pinned at the top means you are GPU-bound: go straight to the graphics settings. Fine at minute one and falling by minute ten means heat: go to the thermal section. Yellow or red Memory Pressure means RAM: clear background tasks and drop texture quality. Re-run the same loop after every change. That is the whole trick, and no competitor guide tells you to do it.
Turn On Game Mode and Check It Is Actually Running
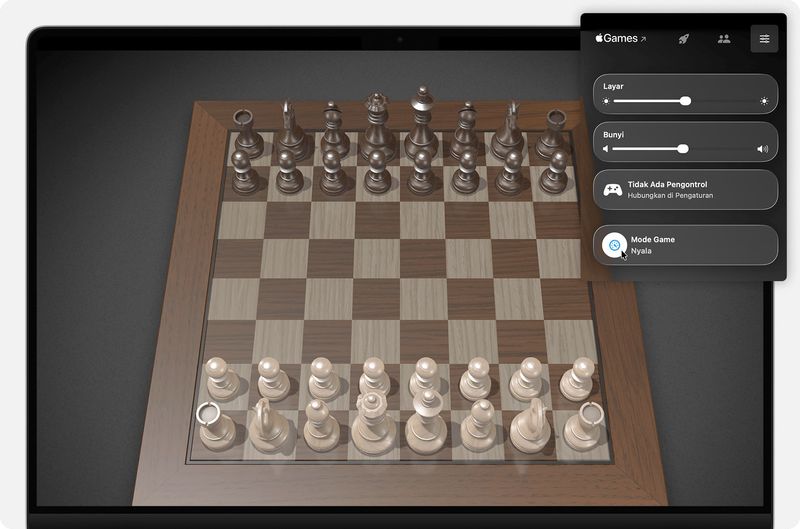
Game Mode is the one macOS feature built for this. Per Apple's Game Mode documentation, it gives the game highest-priority access to your CPU and GPU, lowers background task usage, and doubles the Bluetooth sampling rate to cut input and audio latency on wireless accessories. The requirements are strict: an Apple silicon Mac, macOS Sonoma 14 or later, and a game using the built-in macOS full-screen mode, meaning the green button, not a borderless window the game draws itself.
On macOS Tahoe 26, press Command-Esc to open Game Overlay (or click the Game icon in the menu bar), open Settings and toggle Game Mode. On Sequoia 15 and Sonoma 14, click the Game menu in the menu bar and choose Turn Game Mode On. Apple lists the Tahoe path as "26 or later", so expect it to carry into macOS 27 Golden Gate when that ships later this month.
Two catches trip people up. If you ever switched Game Mode off for a game, it stays off for that game until you flip it back, even after a relaunch. And if the controller icon never appears in your menu bar, the game is not using the system full-screen mode, so Game Mode never engages. Toggle the green button and check again.
Change In-Game Graphics Settings Before Anything Else
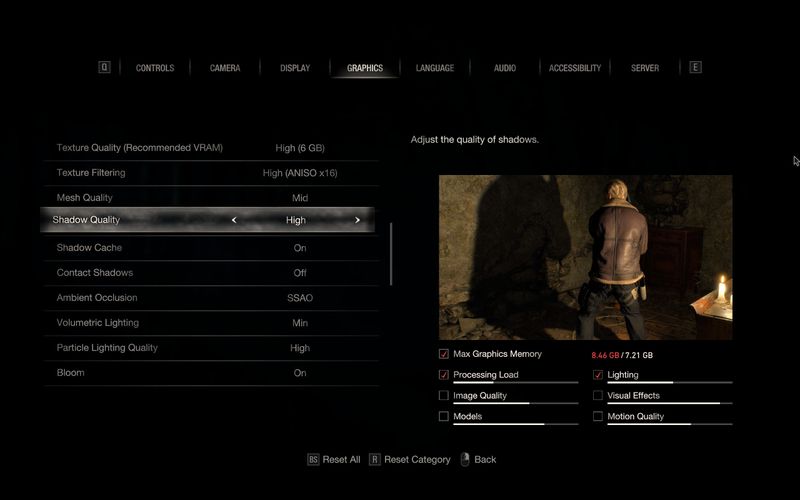
This is the highest-yield lever, and every Mac gaming guide buries it at the bottom. Work down the list in order and re-run your benchmark after each step.
- Render or resolution scale. Drop from 100 to 85 percent, test, then 75. On a Retina panel, 75 percent of native still looks sharper than 1080p did on an old monitor, and GPU load falls roughly with pixel count. If the game offers MetalFX upscaling, use Quality or Balanced instead; it does the same job with less blur.
- Shadows. Shadow resolution and draw distance are the most expensive settings on Apple GPUs after resolution. One notch down usually buys a visible bump.
- Anti-aliasing and post-processing. Motion blur, depth of field, screen-space reflections and ambient occlusion each cost a little and add up.
- Textures, only if Memory Pressure was yellow or red. Texture quality mostly costs memory, not GPU time, so on a 32 GB machine leave it alone.
Then cap the frame rate at your display's refresh rate, or at a number the Mac can hold in the worst scene. A steady 60 beats a 45-to-90 swing every time. Halving render resolution is the 2026 version of the old "low Retina resolution" trick, and it works on demanding modern games without touching your desktop.
You might also like
Free Up CPU, GPU and RAM Before You Launch
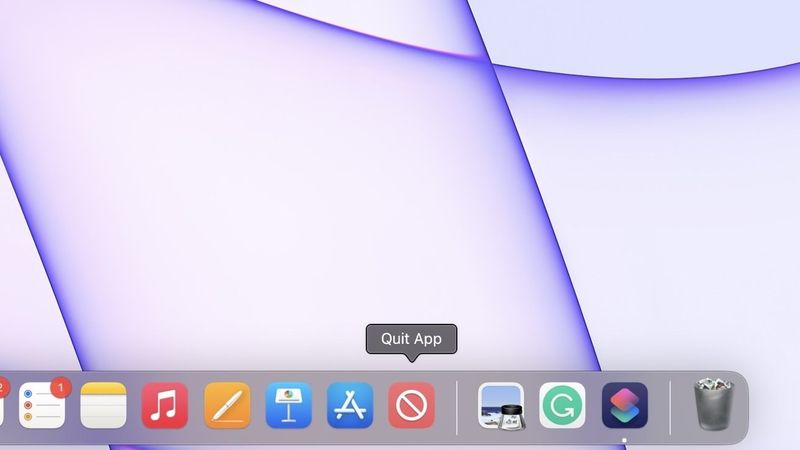
Game Mode already deprioritises background tasks, so this manual pass matters most on older macOS versions, on games that refuse full screen, and for RAM, which Game Mode cannot give back.
- Quit browsers (Chrome especially), Adobe apps, Final Cut and anything in the Dock you are not using. Activity Monitor's CPU and Memory tabs, sorted by column, name the offenders.
- Open System Settings > General > Login Items & Extensions. Prune Open at Login, then go through Allow in the Background and switch off the launchers and updaters you do not need.
- Pause iCloud Photos, Dropbox and Google Drive. Sync eats CPU and the upload bandwidth you want for online play.
- Set up a Gaming Focus so notifications stay out. On Sonoma 14 and later it switches on by itself whenever a wireless controller connects.
Give the Drive and macOS Some Headroom
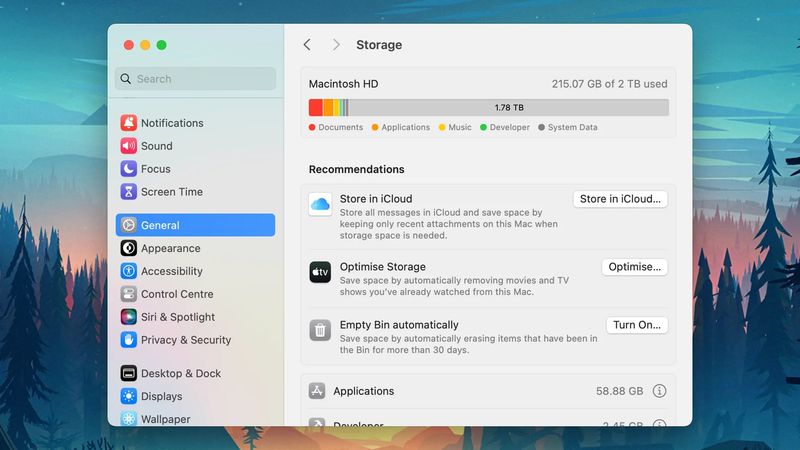
Games write shader caches on first launch, macOS swaps to disk under memory pressure, and a 100 GB patch needs room to unpack. Upgrade guidance for recent macOS releases has asked for roughly 25 GB free just to install a major version, and the older rule of keeping 10 percent of the drive free is a sane floor for a gaming Mac. On a 512 GB drive, keep 50 GB clear. Then update macOS and the game itself. Metal fixes and driver-level performance work ship inside macOS point updates, and developers push Apple-specific patches that you will never see with auto-update off.
Stop Thermal Throttling From Eating Your Frame Rate
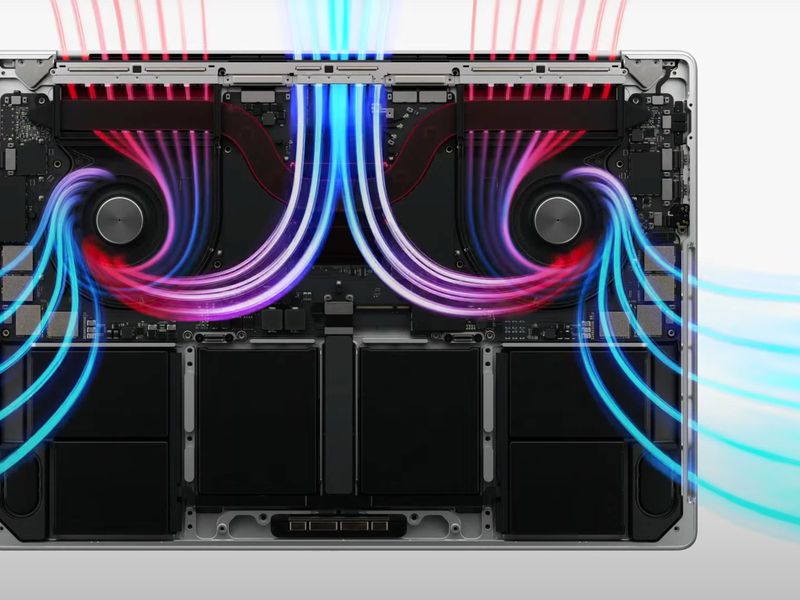
Every Mac has two performance numbers: burst and sustained. A fanless MacBook Air holds peak clocks for a few minutes, then settles at whatever the aluminium can shed on its own. An actively cooled MacBook Pro, Mac mini or Mac Studio holds peak for hours. If your benchmark loop showed frames falling between minute one and minute ten, this is your problem, not the spec sheet.
- Hard, flat surface or a stand. Duvets and laps block the intake.
- Plug in. On battery, macOS trims power, and Low Power Mode cuts GPU clocks hard.
- High Power Mode, where your MacBook Pro offers it under System Settings > Battery or your M4 Pro Mac mini under System Settings > Energy, runs the fans faster for sustained loads. The Mac Studio has no toggle because it does not need one.
- Cap the frame rate. Rendering 60 frames a second instead of 90 is a third less heat, which is often the difference between holding 60 and sagging to 40 after 20 minutes.
Fix the Lag That Is Really Your Network: Ethernet Over Wi-Fi
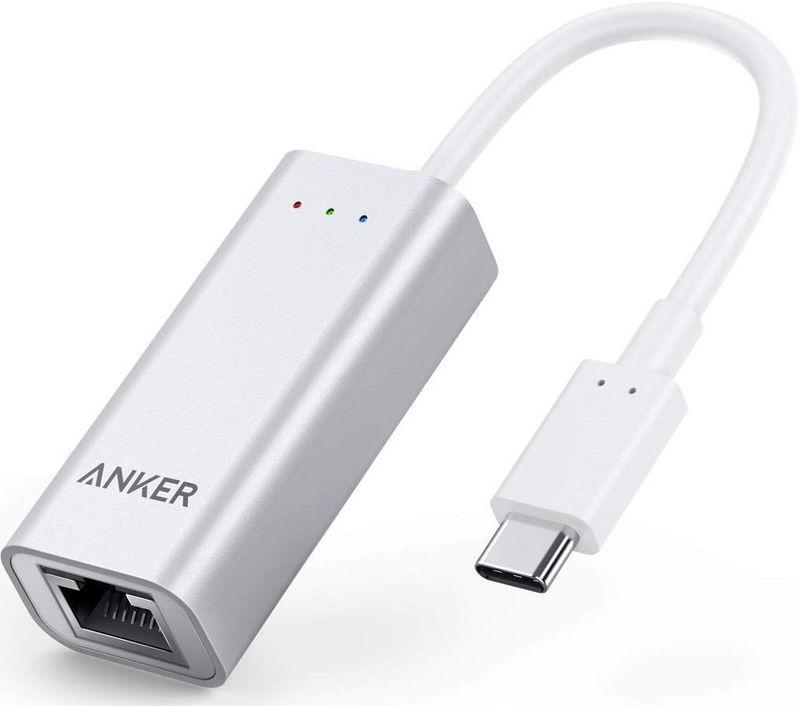
In online matches, ping and packet loss decide how the game feels, and GPU power decides nothing. Open Terminal and run ping -c 20 8.8.8.8 (or the game's server address if you know it). Under 50 ms is fine for most play, competitive shooters want 10 to 20 ms, and anything with dropped packets shows up as rubber-banding that no graphics setting can fix.
Ethernet first. A USB-C or Thunderbolt adapter costs less than a game and removes Wi-Fi's variability outright, and the Mac mini and Mac Studio have the port built in. If Wi-Fi is the only option, use the 5 GHz or 6 GHz band, sit in the same room as the router, and stop other bandwidth-heavy traffic on the network (4K streams, cloud backups) while you play.
One thing settings cannot fix is your ISP's routing. If your ping is fine on most servers and spikes only on certain ones, the path between you and that data centre is the problem. Routing through a VPN server closer to the game server sometimes gives a more stable connection, and it hides your home IP from anyone trying to lag you out of a lobby. Let’s see how PIA works on macOS; it runs WireGuard, offers servers in 91 countries, and its split tunneling sends only the game through the tunnel while everything else stays direct. Test ping with and without it and keep whichever is lower.
Cut Controller and Bluetooth Audio Latency
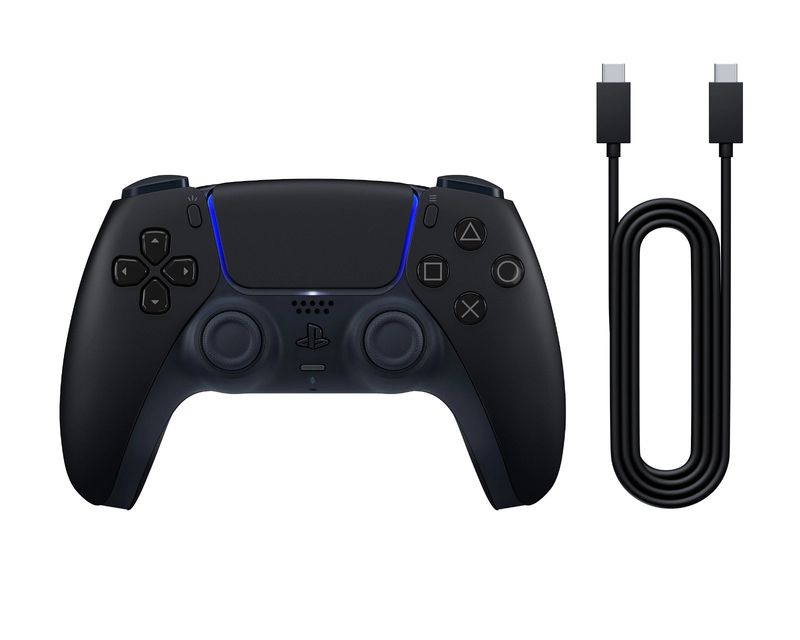
Half of "it feels laggy" is input, not frames. Game Mode's doubled Bluetooth sampling rate helps wireless controllers and AirPods, which is the real reason to confirm it is on. A USB cable removes the variable entirely: DualSense and Xbox controllers both work wired on macOS.
If a controller stutters, forget it in System Settings > Bluetooth and re-pair, and keep it away from a USB 3 hub, since USB 3 interference on 2.4 GHz is real. Check the game actually supports the controller type before blaming the Mac. Plenty of ports read a DualSense perfectly and ignore a Nintendo Pro Controller. For rhythm games and competitive play, use wired audio. Bluetooth audio still typically adds 80 to 160 ms even with the doubled sampling rate, and that is most of a beat.
Choose the Best Way to Run Each Mac Game: Native, Translation or Cloud Gaming
There are three routes, and the performance gap between them is bigger than any setting.
A native Apple silicon build is the best case. Cyberpunk 2077 Ultimate Edition, Resident Evil 4, Death Stranding Director's Cut and Assassin's Creed Shadows all ship native Metal builds with MetalFX. Look for "Apple silicon" on the store page and never run the Rosetta version where a native one exists.
A translation layer handles Windows-only titles. Apple's Game Porting Toolkit is now at version 4 with Metal 4 support, and CrossOver 26 bundles D3DMetal 3.0, running Helldivers 2 and most single-player Windows games, with Diablo IV needing CrossOver 26.1 and macOS 26.5 or later. Expect roughly two thirds of titles to work well, and expect anything with kernel-level anti-cheat (Valorant, most competitive shooters) to refuse outright. Rosetta 2 gets its last full release in macOS 27 Golden Gate; Apple has said it will keep a subset around for older games after that.
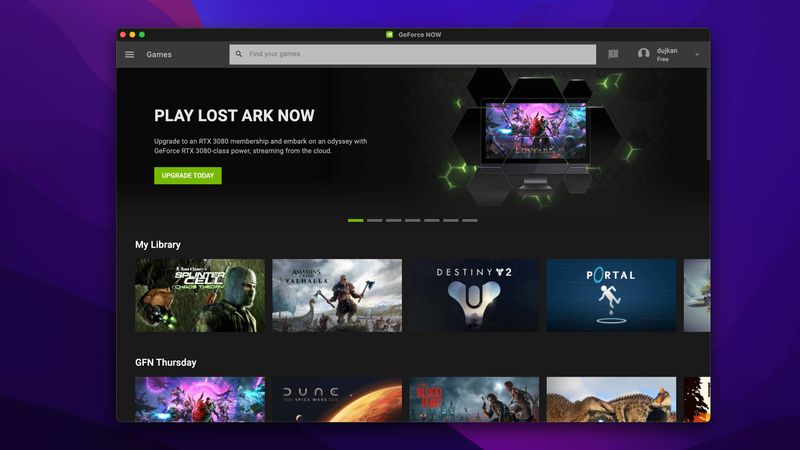
Cloud gaming is for when the Mac is simply not the right renderer. GeForce Now has a native Apple silicon app and Xbox Cloud Gaming runs in Safari, so a base MacBook Air can play AAA games at settings its GPU could never hold, with the network fixes above doing all the work.
When Tweaks Are Not Enough: What Actually Upgrades a Mac for Gaming
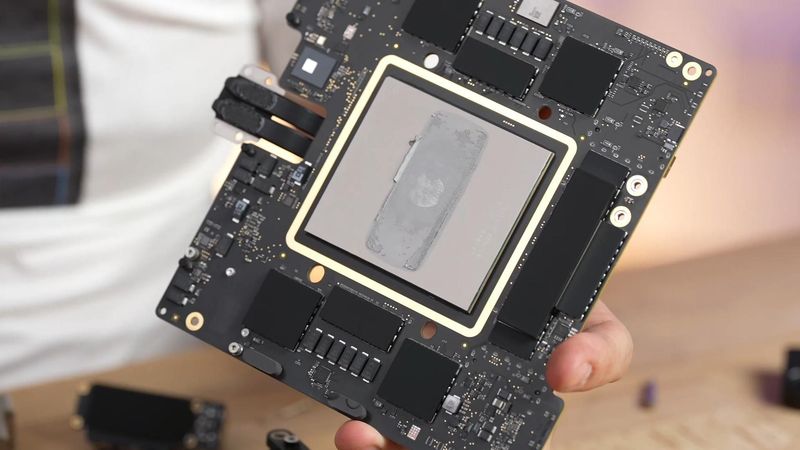
Two specs move the needle: unified memory tier and GPU core count. Both are fixed at purchase on Apple silicon. No RAM slots, no SSD bay, no upgrade later. Treat 16 GB as the floor for modern games (Cyberpunk lists it as the minimum), 24 to 32 GB as comfortable, and every step up the GPU ladder from M5 to M5 Pro to M5 Max as the only real frame-rate purchase. External SSDs help load times and library space, not frame rates.
Now the dead ends that older guides still recommend. eGPUs remain unsupported for graphics: the driver Apple signed in April 2026 runs AI compute on external AMD and Nvidia cards with no display output, so it does nothing for games. Boot Camp is gone. If your library is competitive shooters with kernel anti-cheat, or you want ray tracing at 4K and 120 fps, a gaming PC or console is still the better tool. For everything else, the ten-minute loop at the top will get more out of the Mac you already own than any of them.
FAQ
How do I turn on 120Hz (ProMotion) on a Mac?
Only the 14-inch and 16-inch MacBook Pro with Apple silicon have built-in ProMotion panels. Open System Settings > Displays, click Refresh Rate and choose ProMotion, which adapts up to 120Hz; the other entries in that menu are fixed rates such as 60Hz. For an external 120Hz or 144Hz monitor, the same menu lists its rates once it is connected, and you should cap the game's frame rate to match.
Do game booster apps actually increase FPS on a Mac?
No. macOS controls Apple silicon GPU clocks and the Metal driver, and no third-party app can raise clocks, replace drivers or overclock anything. Booster apps at most quit background tasks and clear caches, which Game Mode and the manual pass above already do for free. If a benchmark improves after installing one, it closed something you could have closed yourself.
Does a fanless MacBook Air throttle more than a MacBook Pro during long sessions?
Yes, by design. The Air holds peak clocks for a few minutes, then settles to what passive cooling allows, while a MacBook Pro's fans hold peak for hours. Newer M4 and M5 Airs last longer at peak than M1 and M2 units, and the 15-inch sheds heat better than the 13-inch. A frame cap, a stand and mains power narrow the gap considerably.
How do I get more FPS in Minecraft Java Edition on a Mac?
Java Edition has run natively on Apple silicon since version 1.19, so make sure your launcher is not using an Intel Java runtime. The default launcher allocates only 2 GB of RAM; open Installations, edit your profile, expand More Options and change -Xmx2G to -Xmx4G. Then install Fabric with the Sodium mod, which replaces the renderer and often doubles frame rates versus vanilla.